Animal Cages
Each animal will have to be taken from “The Wild” and placed into a cage for health checking.
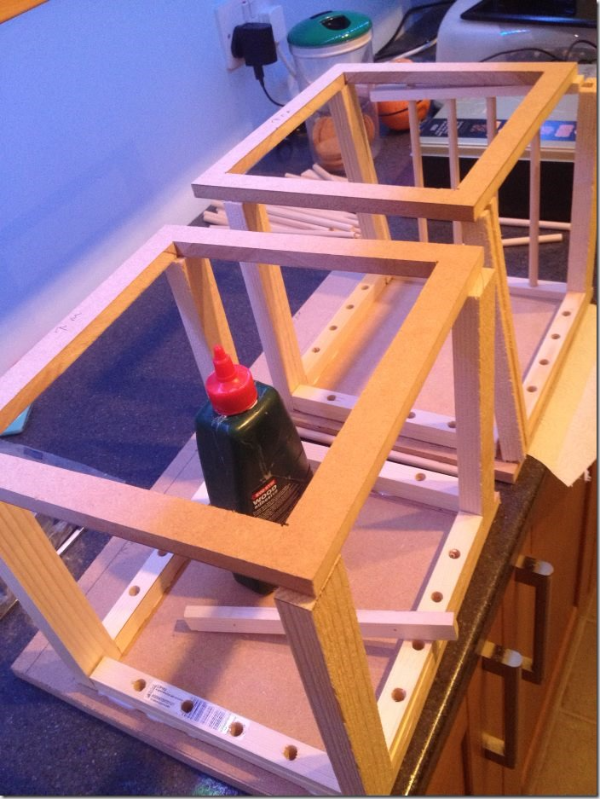
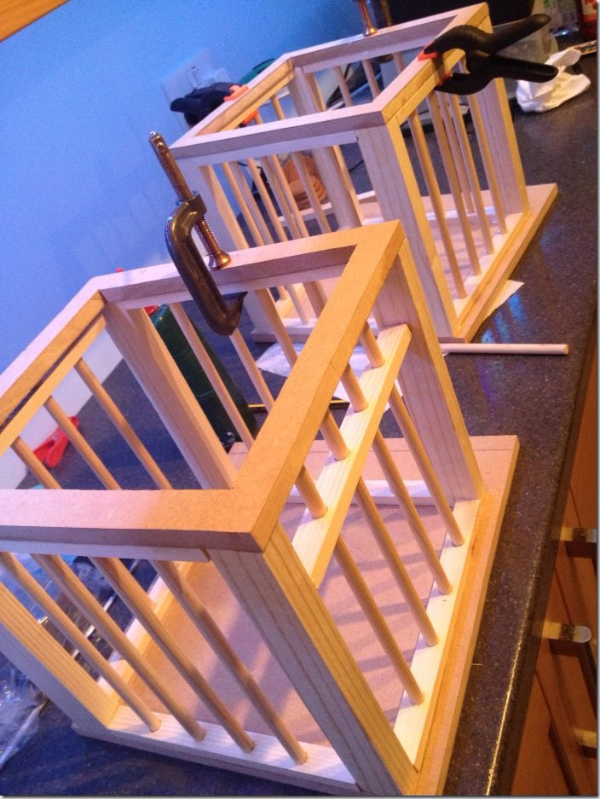
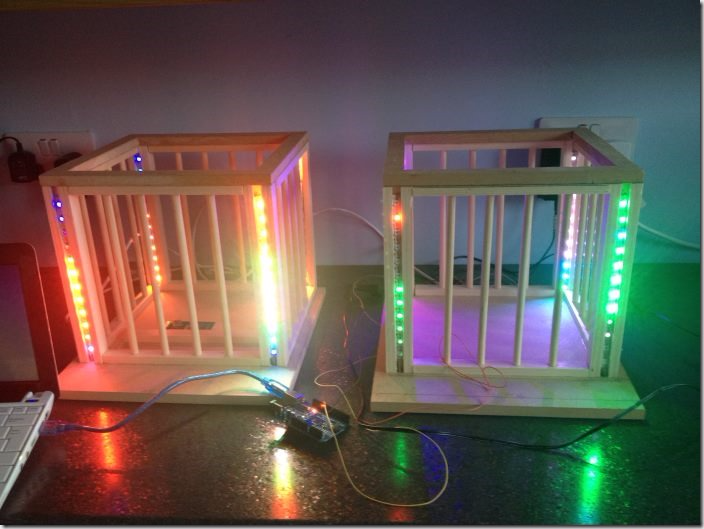
The cages are designed around the size of the larger plush animals, being fairly tight to help ensure visitors place the animals in the centre, thus allowing the RFID reader to read the tag inside the animals. As at present the readers need the animal exactly over them to read, there is a need for visual feedback to the visitor that the animal is ready to be scanned (health checked). To provide this feedback, the cages have been installed with individually addressable LED strips.
These strips can have each LED controlled for red, green, blue and intensity. This should allow the cages to go “green” when ready to scan. Also they should be eye catching. If there is time, the cages will be programmed with an eye catching display in idle state to catch the attention of visitors walking by the exhibit.
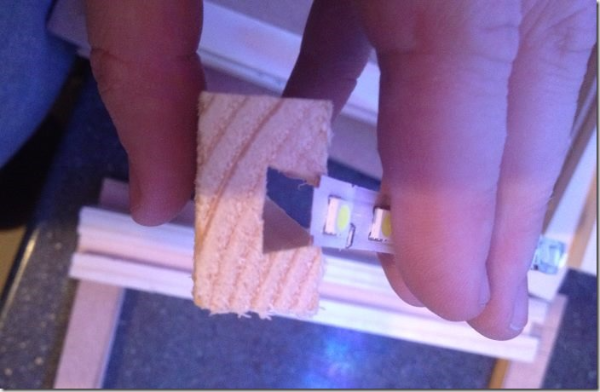
To make the installation of the LED strips simple, I routed an inverted V groove into the uprights, thus allowing the strips to be retained without effort.
The cages are supposed to be a bit crate like, so they are going to keep a natural wood colour, the dowels allow the animal inside to be seen and the LEDs to be seen as the scan the animal for its health. Note that the LEDS are not just on each corner pointing out, they all point towards the audience at the front. I hope that the back LED strips will also illuminate the animal inside the cage for added effect. I also placed them there to make it clear when the animal is in the right position, with visual feedback the visitor can see, as they are at that point looking into the cage, not necessarily from the outside.
Driving of the LEDs is currently done using an Arduino clone. Although the Netduino could (with hacking the firmware), drive the LEDs, the timing requirements of these strips really don’t lend themselves to the Netduio. Instead I2C will be used to instruct the Arduino from the Netduino as to what it should be showing.
There is some work required to get the code on the Aruduino responsive and in classes so each cube can be addressed simply, and put into different states of a state engine. For example one cage may be scanning the animal while the other is showing red as wrong animal may have been placed in the cage.


