Raspberry Pi3
So my eBay orders are coming in now.
I tried hacking a CD drive to see if that could be used for an automated drawer to form the mechanical design for the scanner component of the sticker design scanner.
However on deconstructing the CD drive it was not obvious how I’d get that working, there is not much open for the Pi camera to get a photo of the paper. I also started to have concerns over how robust that idea would be. I’ve seen the way some of the three year olds have grabbed at previous project.
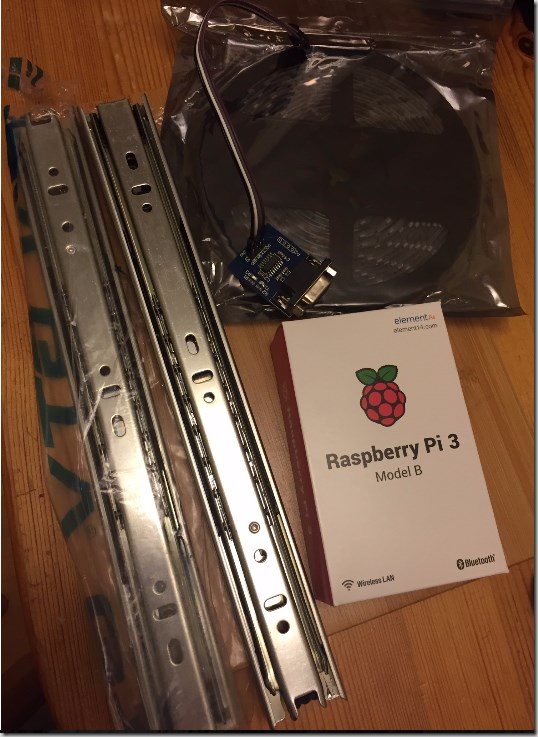
Thus you will see from the photo that I researched rack slides then found you could get ball bearing draw slides that should when a plate of wood is mounted to the top of them, allow for a robust sliding platform. This could have the paper placed onto it, then slide into a sticker machine. 
I have also placed orders for some toothed belts and strong stepper motors to allow the slide action to be automated.
Pictured in the photo is a roll of neopixel led strip. It is obvious to add some attention grabbing movement into the project I need flashing lights. As everyone knows, these addressable LEDs in RGB allow anything to be done. No idea how they will be used yet, probably add that in at the end.
Next up is the RS232 to TTL logic board, these are cheaper to buy than for me to make, so I ordered a couple to allow me to drive RS232 from the PI. After some research Windows IoT core does not support USB printers (nor should it). So I’m going to have to use RS232 as expected again. This board should connect to the serial pins of the RPi and allow it to drive the higher voltages used to transmit the long distances that RS232 is designed to run over.
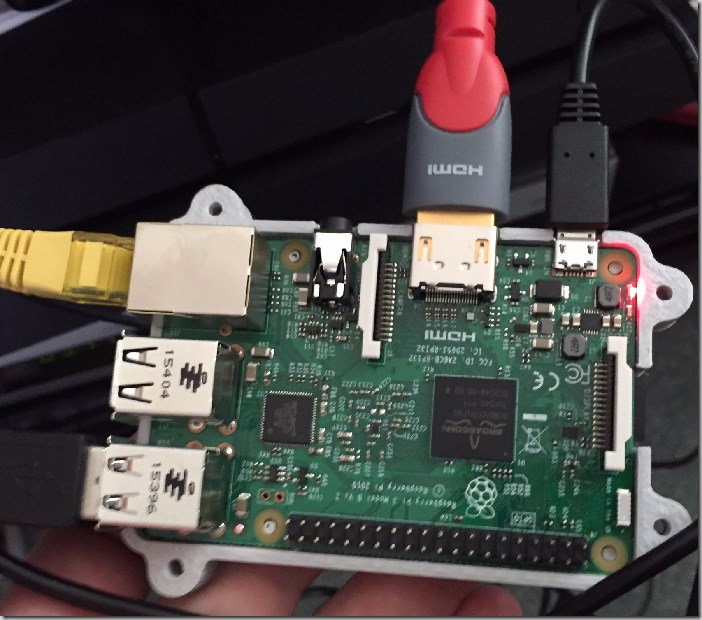
RPi3 – yes just in time for my project! – the version 3 has more power, something I may find helpful when processing and capturing photographs. I’m so grateful to a friend who had access to them and assumed I’d like one, ordered one and GAVE it to me for free! #win! Thanks.

